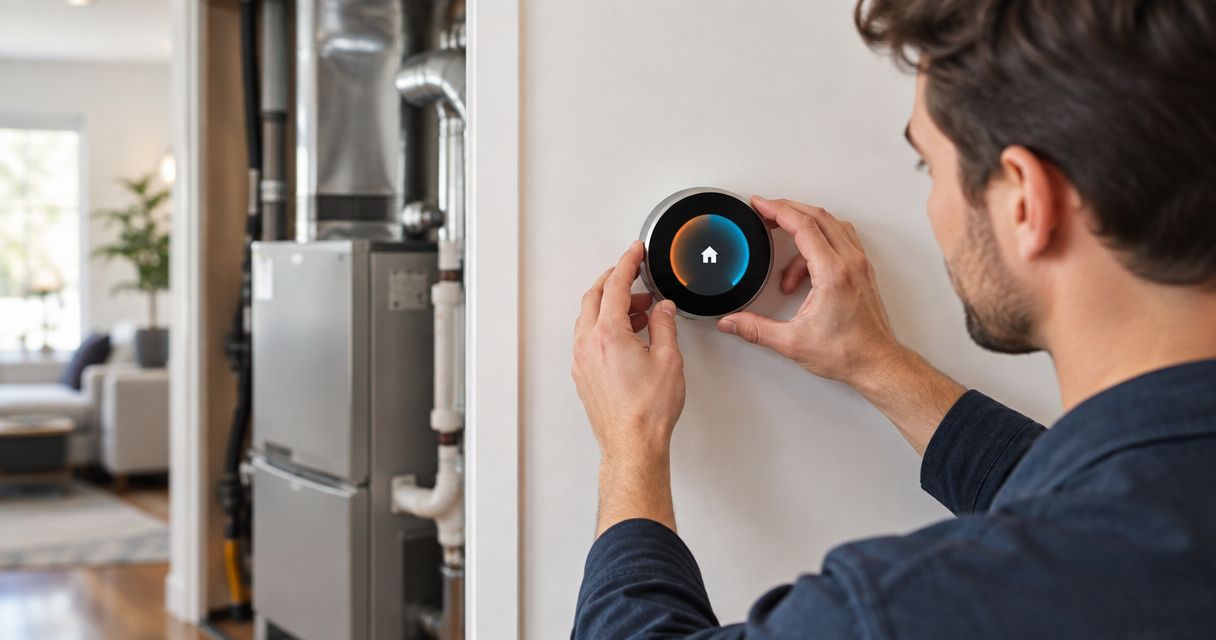
Connecting a Nest thermostat to your HVAC system is a 30-minute job if your wiring already includes a C-wire, and a same-day fix with an adapter if it doesn't. Instead of guessing at wire colors and hoping the thermostat boots up, run the compatibility check first, label every wire before you touch it, and let the Nest app walk the actual configuration — that order prevents the two mistakes that send most DIY installs into a service call.
- Check compatibility with the Nest app's online tool before buying — most 24V systems in Missouri homes qualify but older two-wire heat-only setups often don't.
- A missing C-wire is the #1 reason a Nest install stalls in 2026; the free Nest Power Connector solves it without new wiring.
- Label every wire with the included stickers before disconnecting anything — Nest terminal letters don't always match your old thermostat's layout.
- Heat pump systems need a different terminal map (O/B, Aux/Em Heat) than standard furnace-and-AC systems — pick the right setup screen in the app.
- If the Nest won't call for heat or cool after setup, it's almost always a wiring or dip-switch mismatch at the furnace board, not a broken thermostat.
Why this matters
A Nest thermostat only saves energy and money if it's actually talking to your equipment correctly. A loose Rc/Rh jumper or a wire in the wrong terminal won't always throw an error — sometimes the system just quietly stops calling for heat on the coldest night of the year. Lake of the Ozarks homes built before the 1990s are the most common source of these issues, since a lot of them were wired for simple mechanical thermostats with no C-wire at all.
Getting the wiring right the first time also matters because Nest's energy-saving features — auto-schedule, home/away detection, Airwave — depend on the thermostat correctly identifying whether it's driving a furnace, a heat pump, or a dual-fuel system. Set it up wrong and the thermostat still works, but the features you paid for don't.
Before you start
- A Nest account and the Google Home or Nest app installed on your phone, plus your home Wi-Fi password (2.4GHz networks work most reliably for the thermostat's base).
- A screwdriver and your old thermostat's wiring intact — don't remove the old thermostat until you've photographed the wire layout.
- The gotcha: if your current thermostat has only 2 or 4 wires and no terminal labeled "C," you almost certainly don't have a common wire. Don't disconnect anything until you've read the "No C-wire" section below — this is the single issue that turns a 30-minute DIY job into a wall full of loose wires and a call to West Heating & Cooling.
Check compatibility before you touch a wire
- Open the Nest compatibility checker (in the Nest app or on Google's site) and answer the questions about your system type — furnace, heat pump, boiler, or dual-fuel.
- Note whether your current setup has 2, 3, 4, or 5+ wires. More wires generally means better compatibility, since it usually indicates a C-wire is already run.
- If the checker flags your system as incompatible, stop here — that's a sign the system needs a C-wire added or uses a proprietary control board that a smart thermostat can't read.
Expected result: you know before spending a dollar whether your HVAC system supports a Nest thermostat outright, needs a small adapter, or needs a wiring change.
Turn off power and label your wires
- At your breaker panel, switch off the breaker labeled furnace or AC. Confirm the old thermostat's screen is dark before proceeding.
- Remove the old thermostat's cover and take a clear photo of the wire terminals and colors.
- Apply the included Nest wire labels to each wire as you disconnect it — match by terminal letter (R, C, W, Y, G, O/B), not by color, since wire colors aren't standardized across installers.
- Unscrew the old thermostat's base from the wall.
Expected result: every wire is labeled, the base plate is off the wall, and you have a photo backup in case a label falls off mid-install.
Set up the Nest base and connect wires
- Feed the labeled wires through the Nest base plate and mount it to the wall using the included screws (use the anchors if you're not hitting a stud).
- Insert each wire into the terminal matching its label — Nest's terminals are spring-loaded, so push the wire in firmly until it clicks.
- Snap the Nest display onto the base. It powers on automatically if wiring is correct.
- Restore power at the breaker panel.
Expected result: the Nest display lights up and walks you into on-screen setup within 10-15 seconds of power restoring.
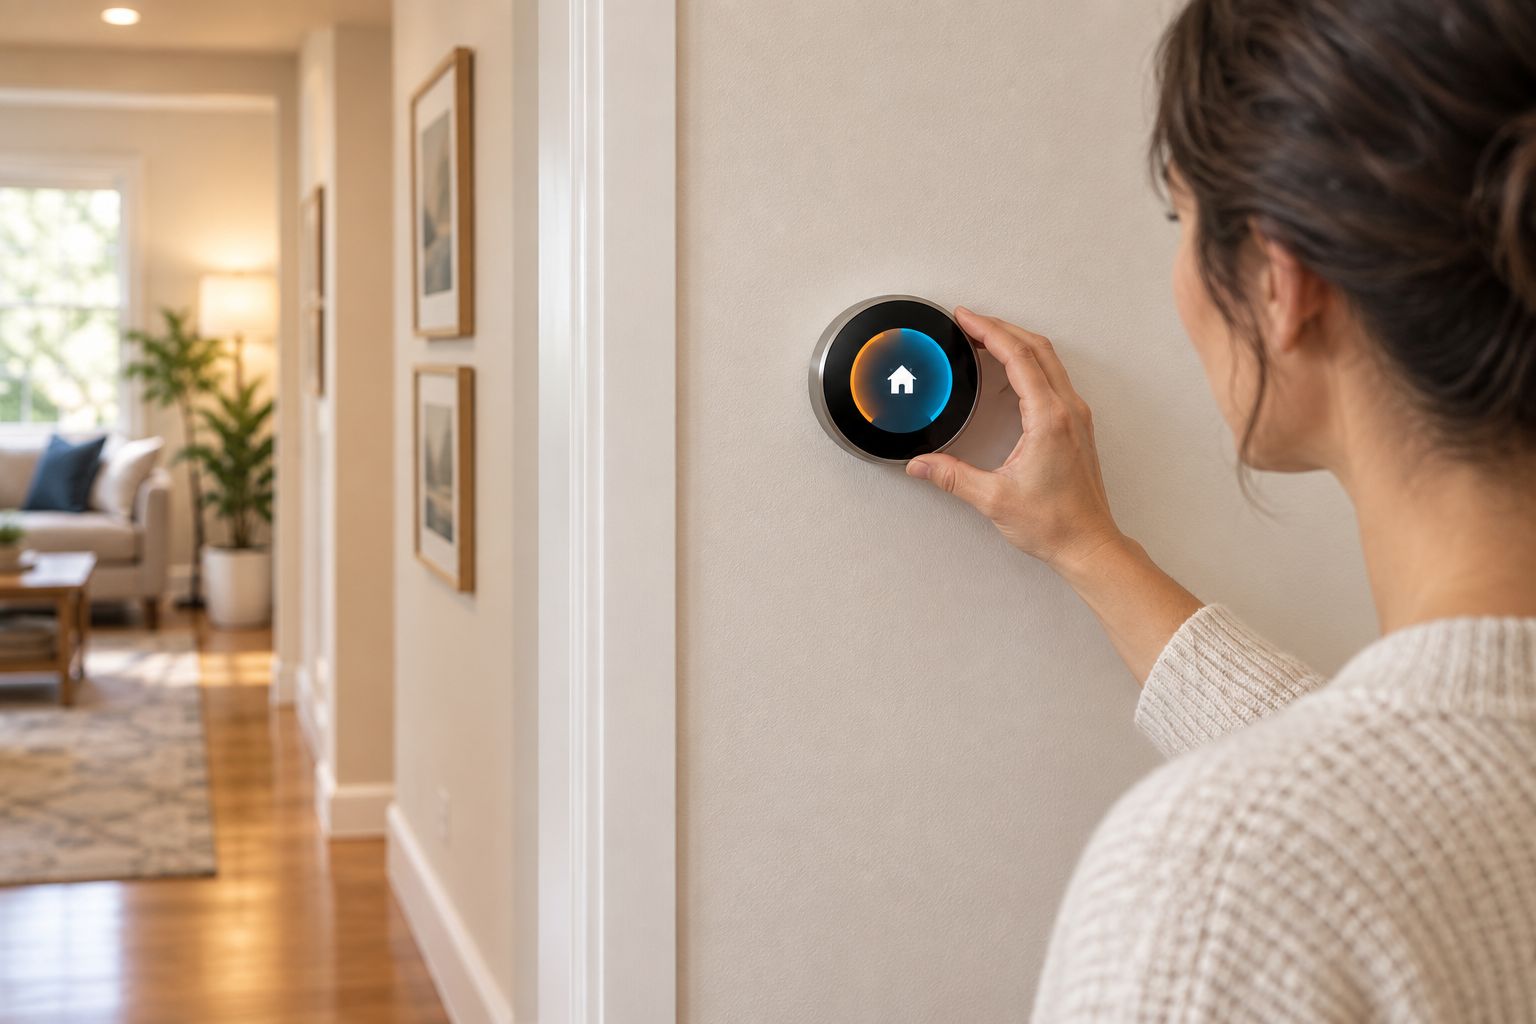
Configure the system type in the app
- In the Nest app, follow the setup prompts to join your home Wi-Fi network — 2.4GHz connects more reliably than 5GHz for most thermostat models.
- When prompted, confirm the system type the thermostat detected against what you noted during the compatibility check (furnace/AC, heat pump, dual-fuel).
- Set your heating and cooling schedule, or let Auto-Schedule build one from your manual adjustments over the first week.
- Register the thermostat to your Nest account so remote access and energy history start tracking immediately.
Expected result: the app shows "System connected" and displays real-time heating/cooling status matching what's happening at the furnace or air handler.
Heat pump vs. standard furnace-and-AC wiring
Heat pumps use terminals a standard gas furnace setup never touches, which is why the app asks you to specify system type rather than guessing from the wires alone.
| System type | Key terminals used | Extra setup step |
|---|---|---|
| Furnace + AC | Rc, W, Y, G, C | None beyond standard wiring |
| Heat pump | Rc, O/B, Y, G, C, Aux/Em Heat | Confirm reversing valve direction (O vs B) in app |
| Dual-fuel (furnace + heat pump) | All of the above plus W2 | Set switchover temperature manually |
Verdict: a standard furnace-and-AC setup is the easiest Nest install; heat pump and dual-fuel systems take an extra 5 minutes in the app but aren't harder to wire.
No C-wire? Do this instead
If your system has no C-wire, the Nest Power Connector (Google's own adapter kit) pulls power from your furnace board without running new wire through the wall. Wire it at the furnace control board per the included diagram, then complete setup normally. This is the most common fix for homes built before the mid-1990s around Camdenton, Osage Beach, and Lake Ozark, where a lot of original HVAC wiring only supports basic mechanical thermostats.
Not sure if your system has a C-wire?
West Heating & Cooling can check your wiring and finish the Nest install same-day.
Troubleshooting
- E73 or "Rh/Rc wire" error: usually means the wire is in the wrong terminal or loose — reopen the base and reseat the Rc wire, pushing until it clicks.
- Thermostat won't connect to Wi-Fi: move the router closer or switch to the 2.4GHz band; Nest thermostats can struggle to hold a connection to 5GHz-only networks through thick interior walls.
- Heat or cooling doesn't turn on after setup: check that the system type selected in the app matches your actual equipment — a heat pump set up as a standard furnace will misread the O/B terminal.
- Display stays blank after power restore: confirm the breaker is fully on and the C-wire (or Power Connector) is seated; a partially inserted wire is the most common cause.
- Auto-Schedule feels wrong for the first week: that's expected — it learns from manual adjustments, and accuracy improves after 5-7 days of normal use.
Customize your workflow
Once the thermostat is connected and reporting correctly, a few adjustments make it worth more than a basic setup. Turning on Home/Away Assist stops the system from heating or cooling an empty house, and pairing the thermostat with a seasonal maintenance check keeps the sensors reading accurate temperatures instead of drifting off over a year of dust buildup. If you're deciding between Nest and other smart thermostats before you commit to wiring anything, the comparison of best smart thermostats for HVAC systems in 2026 breaks down which models fit which system types. And if the thermostat is going into a lake house that sits empty part of the year, the setup priorities are different — see the HVAC guide for lake house owners for what to check before you leave the property unattended.
A smart thermostat is only one piece of keeping a system efficient long-term. Pairing it with a scheduled tune-up, covered in the best HVAC maintenance plans in 2026 guide, catches wiring drift and refrigerant issues a thermostat alone can't diagnose.
FAQ
How do I know if my HVAC system is compatible with a Nest thermostat?
Run the compatibility check in the Nest app before buying — it asks about your system type and wire count and flags whether you'll need an adapter. Most 24V forced-air systems in homes built after the mid-1990s qualify without extra parts.
What do I do if my thermostat has no C-wire?
Install the Nest Power Connector at your furnace control board — it pulls low-voltage power without running new wire through the wall. This is the standard fix for older homes that were wired for a basic mechanical thermostat.
Can I install a Nest thermostat on a heat pump system?
Yes, but heat pumps use the O/B and Aux/Em Heat terminals that a standard furnace setup doesn't, so you select "heat pump" as the system type during app setup. Getting this step right prevents the reversing valve from running backward.
Why won't my Nest thermostat turn on after I connect the wires?
Check that the breaker is fully restored and that every wire clicked fully into its terminal — a partially seated wire is the most common cause of a blank display. If power is confirmed and it's still blank, the C-wire connection is the next thing to check.
Is a Nest thermostat better than a standard programmable thermostat?
A Nest thermostat adds auto-scheduling, remote app control, and home/away detection that a standard programmable thermostat doesn't offer, but it depends on correct wiring to deliver those features. For a side-by-side of models and system fit, the best smart thermostats for HVAC systems in 2026 comparison covers the tradeoffs.
How long does it take to install a Nest thermostat myself?
A straightforward install with an existing C-wire takes 20-30 minutes from removing the old thermostat to completing app setup. Add 30-60 minutes if you need to wire a Power Connector for a missing C-wire.
Does a Nest thermostat work with a dual-fuel heating system?
Yes, dual-fuel systems (furnace plus heat pump) are supported, but setup requires wiring the W2 terminal and manually setting the outdoor temperature where the system switches from heat pump to furnace. Get this switchover temperature wrong and the system runs less efficiently in cold weather.
What happens if I install a Nest thermostat with the wrong system type selected?
The thermostat will still power on, but heating or cooling may not activate correctly, especially on heat pump systems where the O/B terminal controls the reversing valve. Recheck the system type in the app's settings menu if either mode stops responding after setup.
One last thing
The wiring is rarely the hard part — the terminal-letter mismatch between an old mechanical thermostat and Nest's labeling is what trips up most DIY installs in 2026. If your old thermostat used non-standard color coding (some older Missouri installs wired blue to R instead of C), trust the terminal letters on the Nest base, not the wire colors, every time. When the compatibility check flags a heat pump, dual-fuel, or no-C-wire situation, a 20-minute professional visit from West Heating & Cooling costs less than the time lost troubleshooting a mis-wired reversing valve on a 30-degree night.